How to use "Make Sale" in Keepon
Keepon now has the ability to allow you to manage the products and services you sell in an even more simplified and streamlined manner.
In this article, we are going to show you how to use the “Make Sale” function in Keepon for marking and tracking sales of Services, Credit Packs & Items.
First things first you are going to need to set up and create Products & Services that you frequently use. If you haven’t already, click here then return to this article.
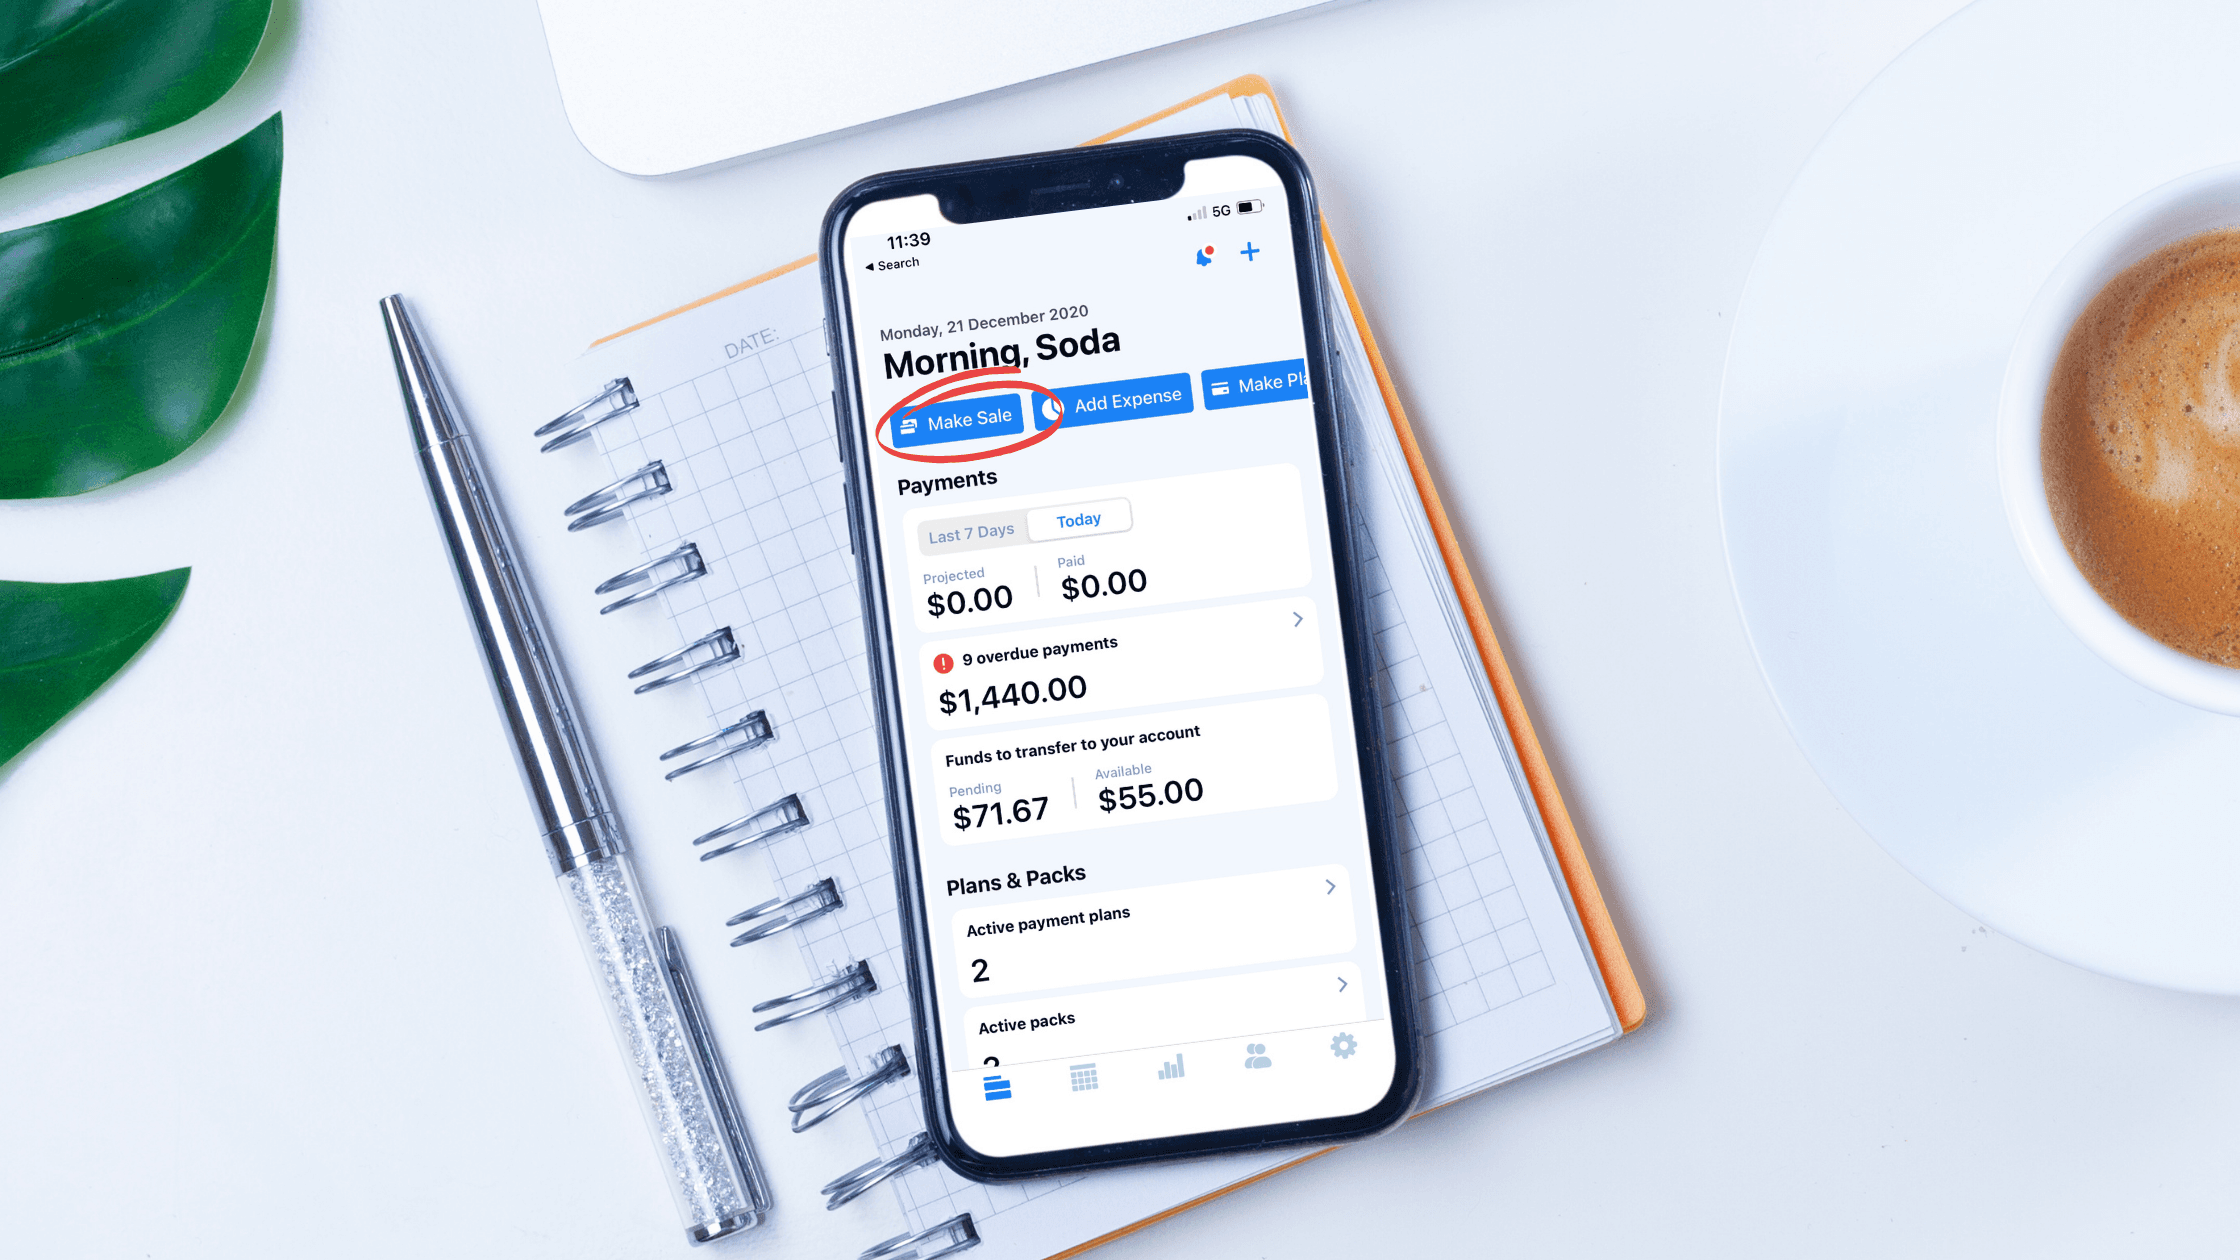
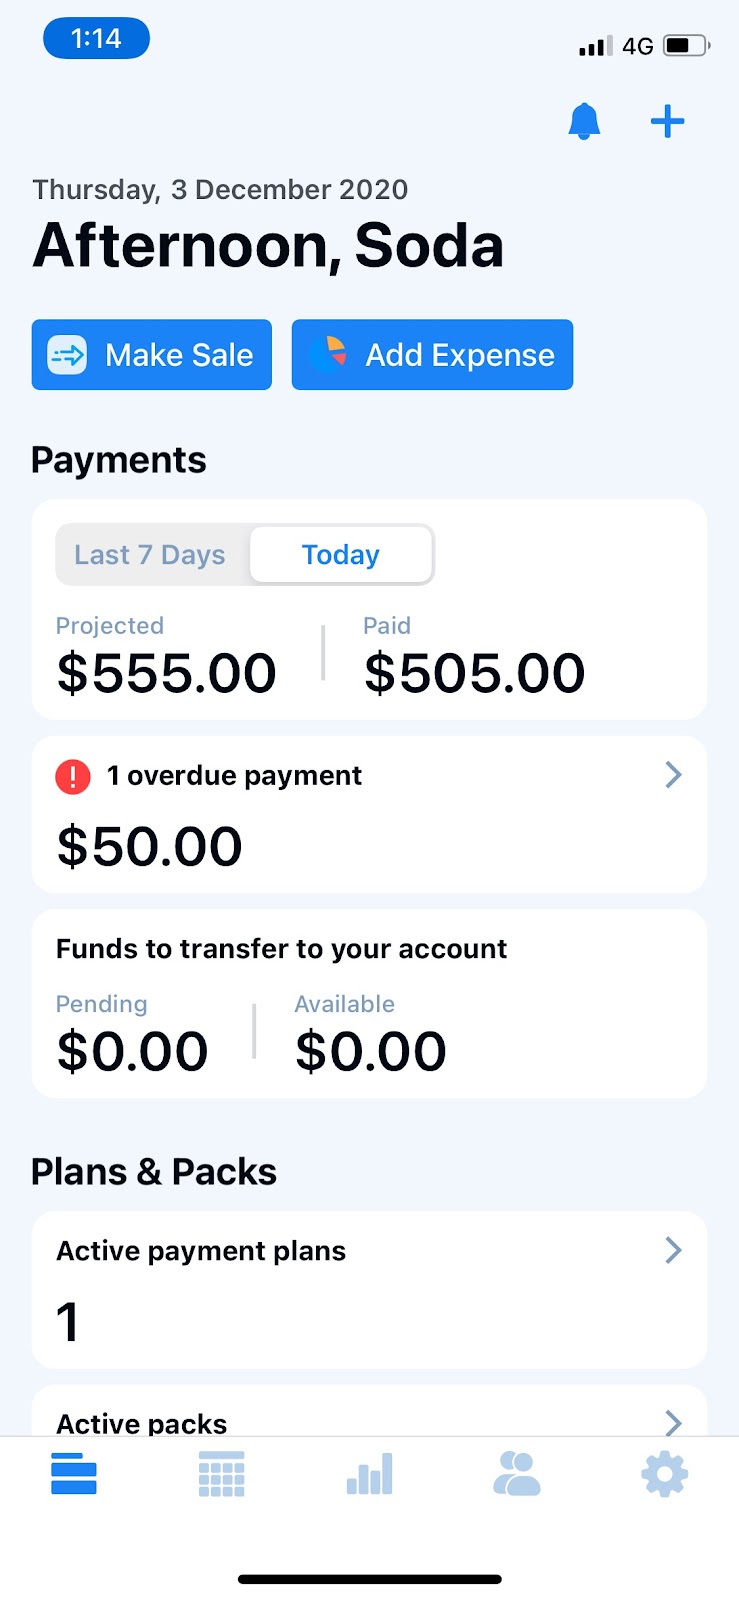
Step 1
Tap the “Make Sale” button.
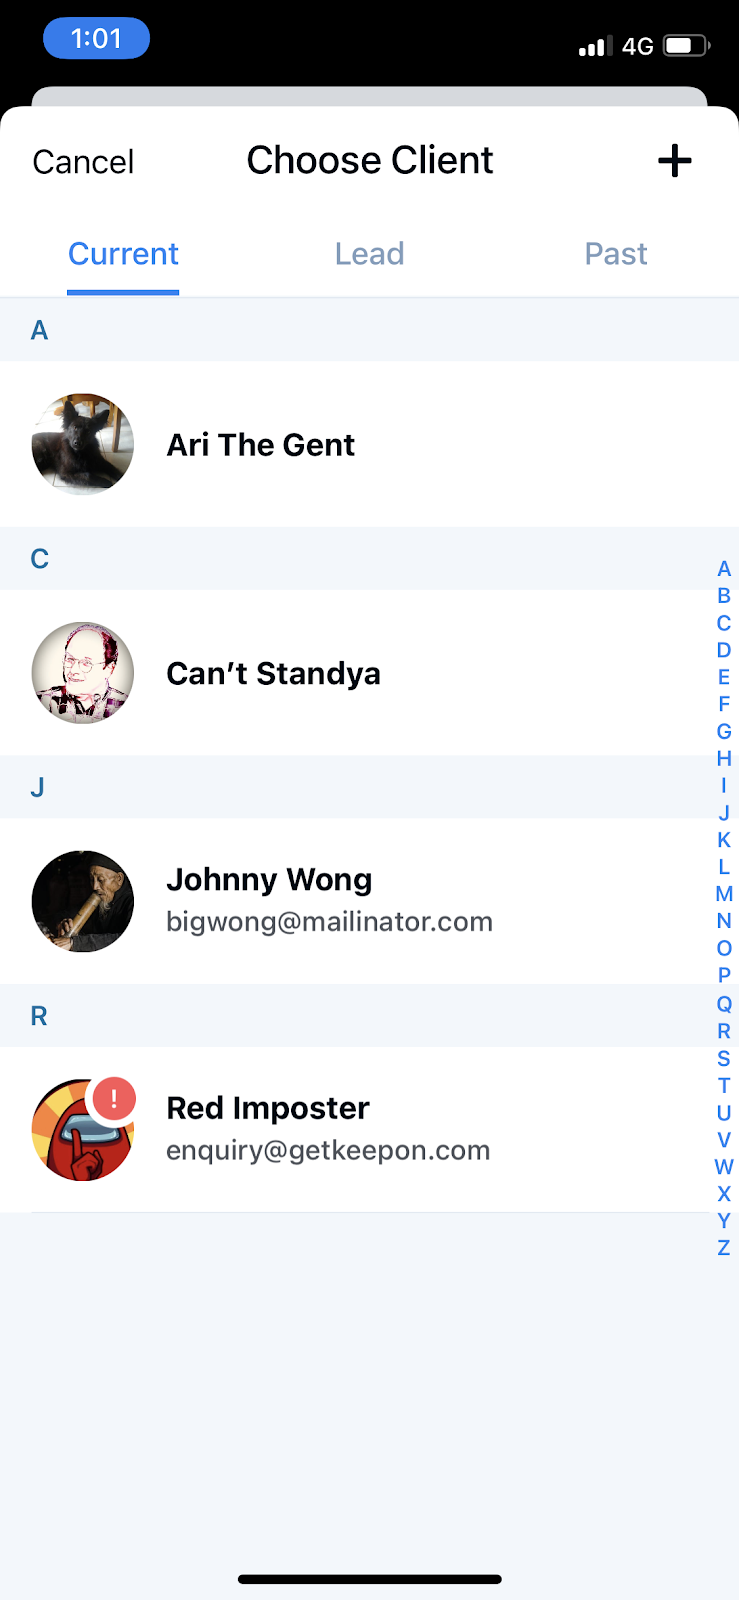
Step 2
Select the client you would like to attribute the sale too.
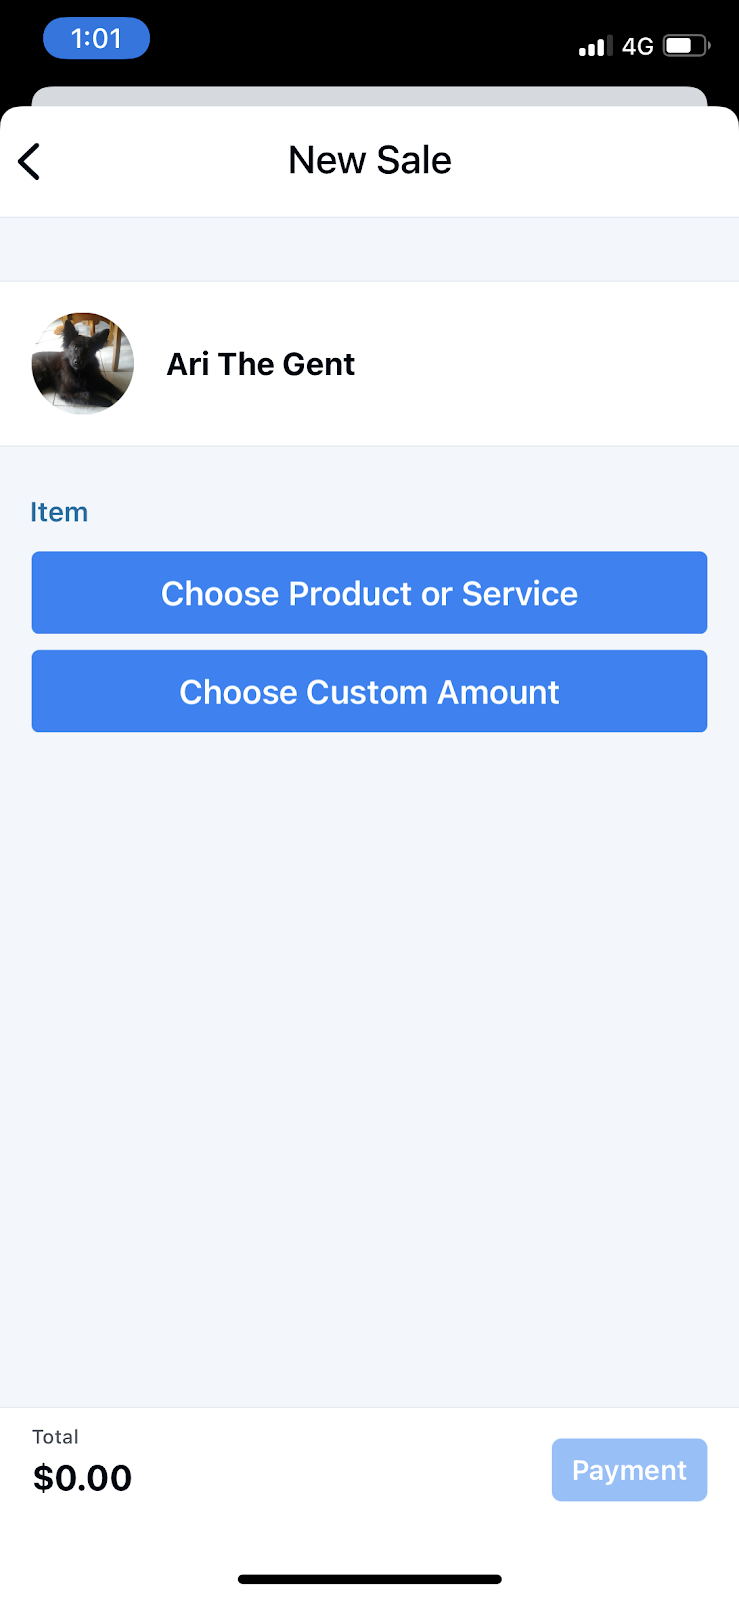
Step 4
Tap your required choice
| Button | Description | Next Step |
| Choose Product or Service | This will take you to previously created products and services | Proceed to Step 5 |
| Choose Custom Amount | Utilise this option if you have to charge a custom amount that is not attributed to a previously created product or services. | Proceed to Step 7 |
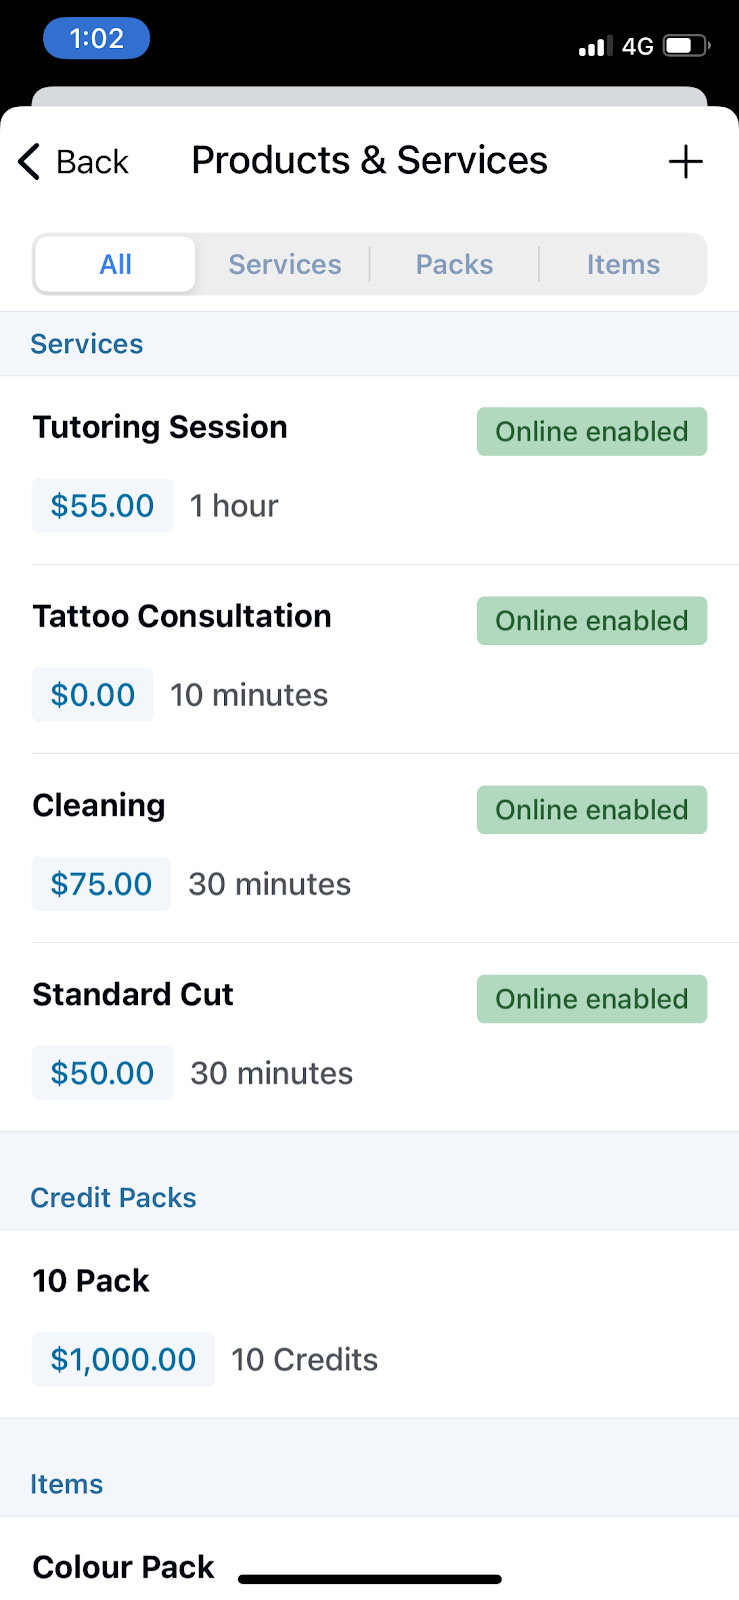
Step 5
Select the product, service or item that you’d like to add.
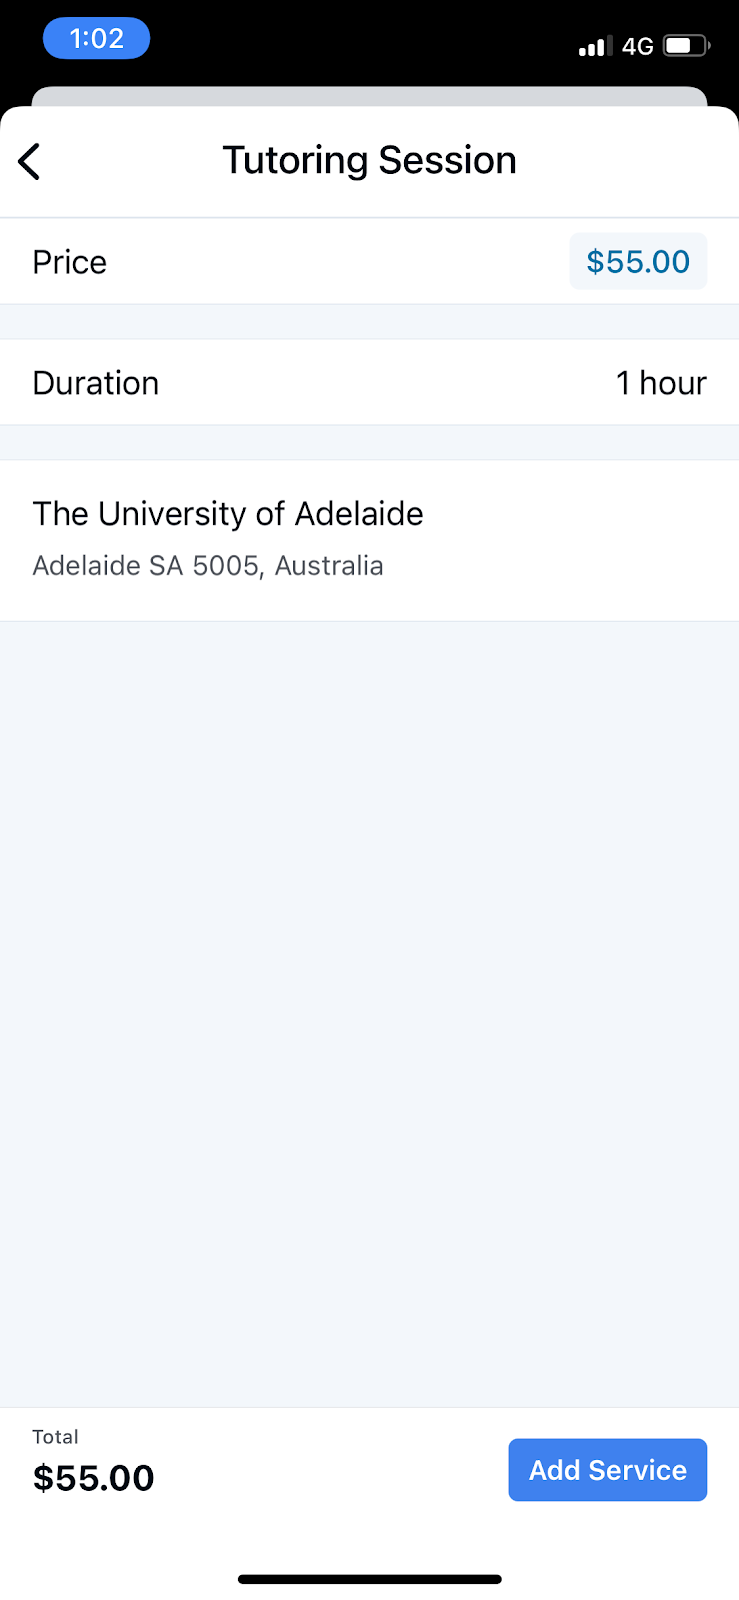
Step 6
Review and tap “Add Service” button, then proceed to Step 8.
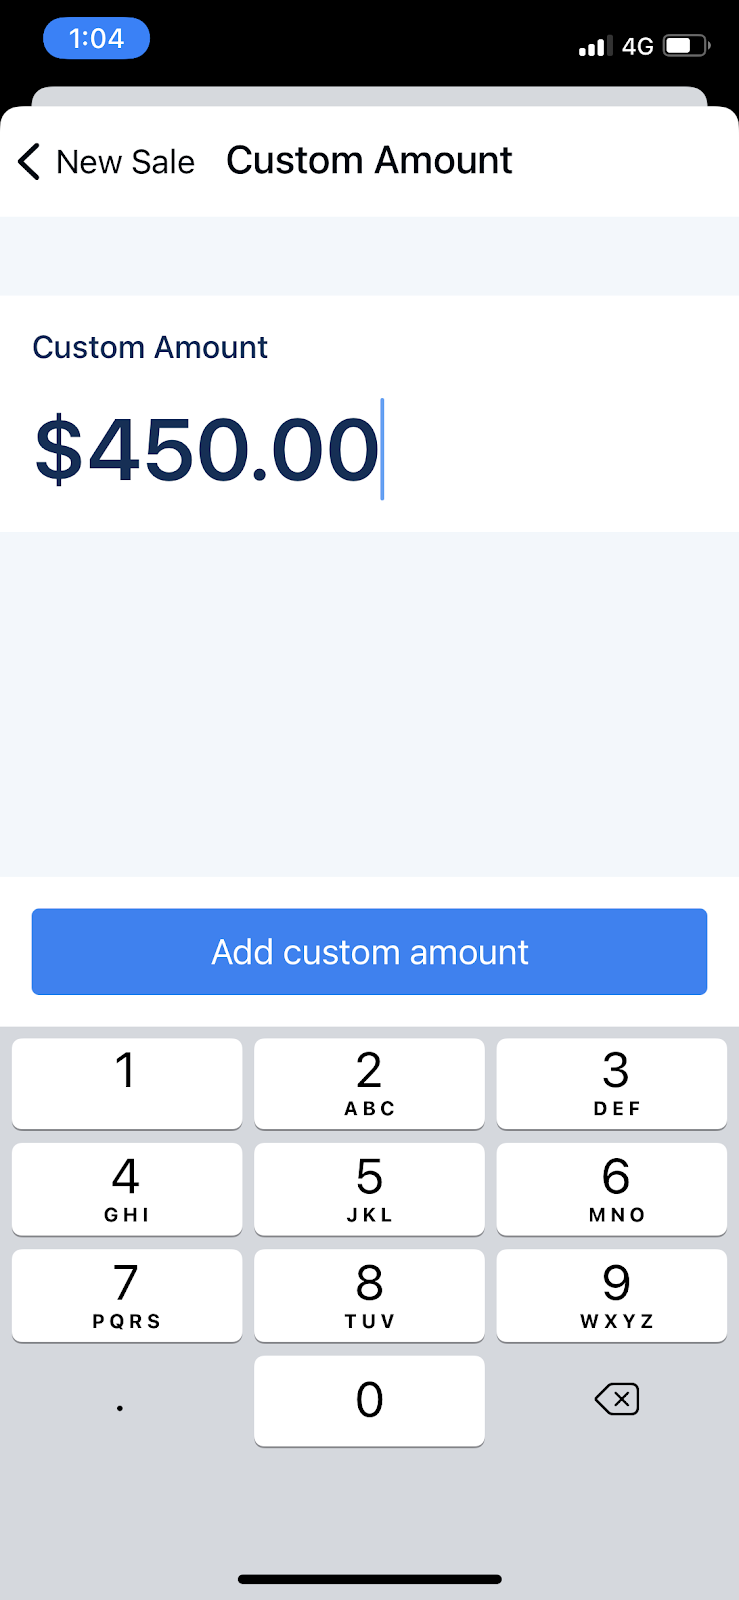
Step 7
Enter the amount then tap “Add custom amount”
Step 8
There are multiple payment types for you to choose from
Card - This function allows you to take on the spot card credit and debit card payments by either manually entering them. You can also pass on associated transactional costs.
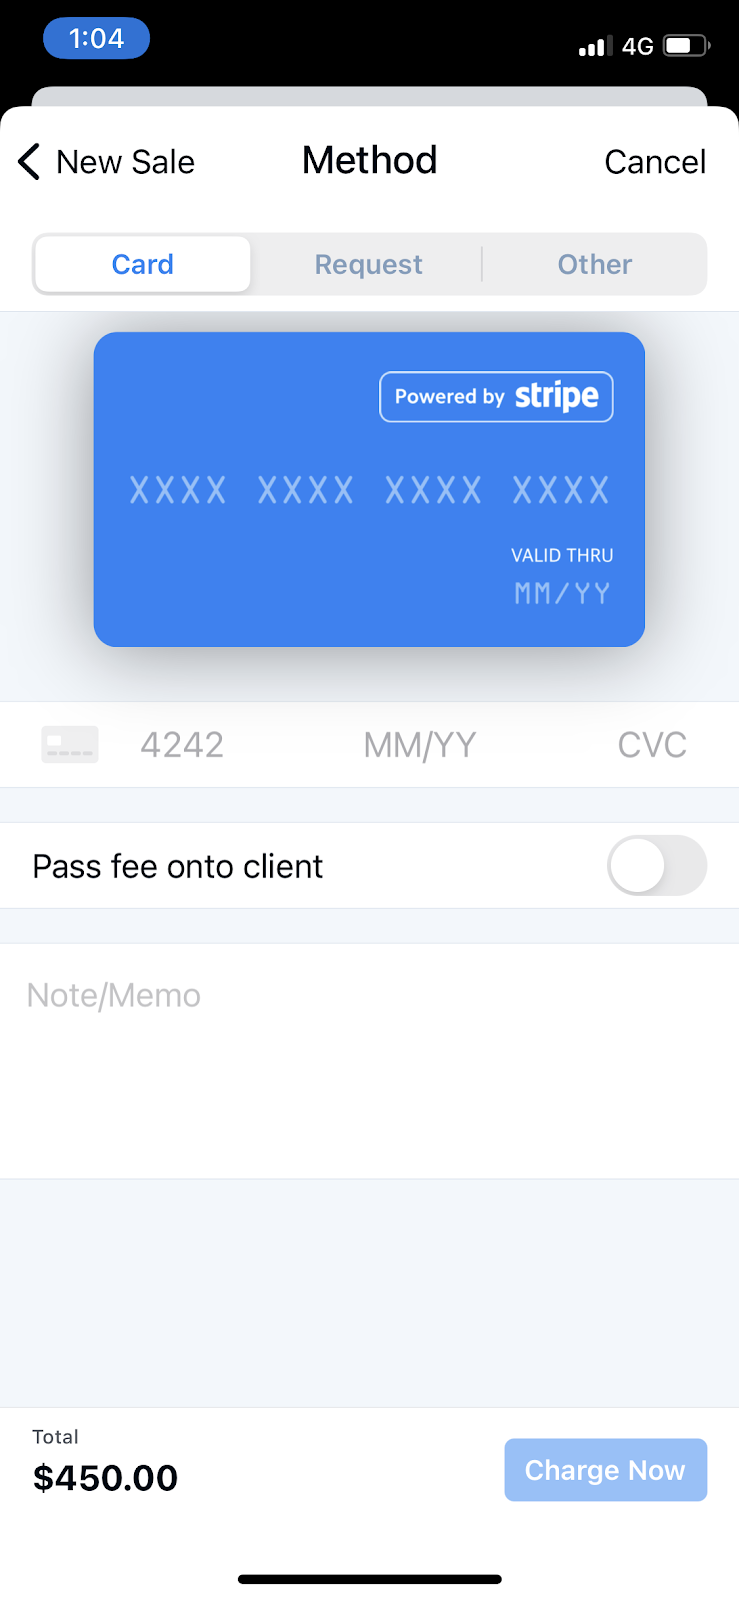
Request - This function is kind of like a simple invoice and allows you to send a payment request to your clients which they can then pay via the client dashboard. You can also pass on associated transactional costs. This is sent by email and the email will contain a link your clients can follow to see the payment request.

Other - includes:
Cash
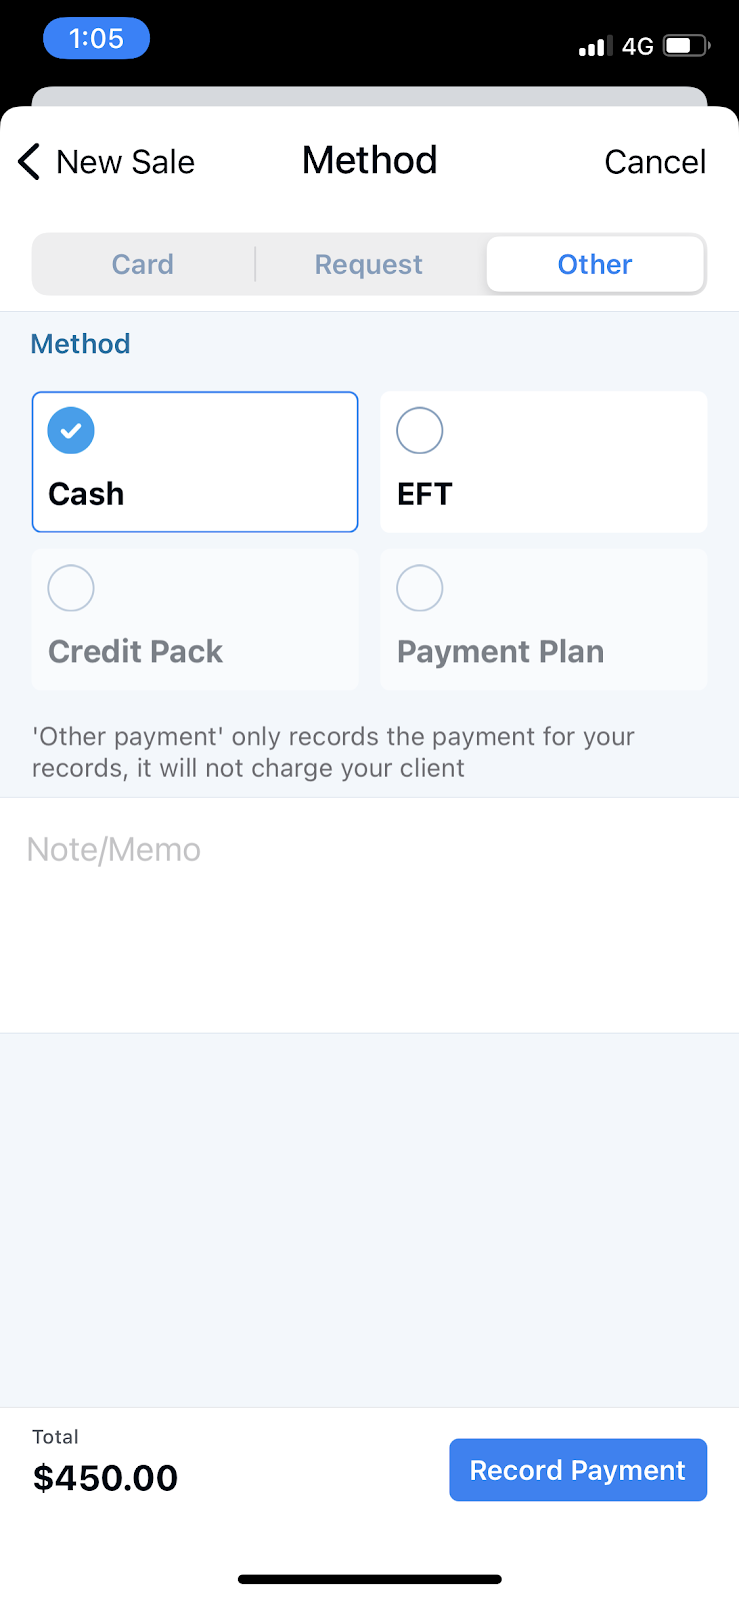
EFT (Electronic Funds Transfers) - i.e. Bank Transfer and other services

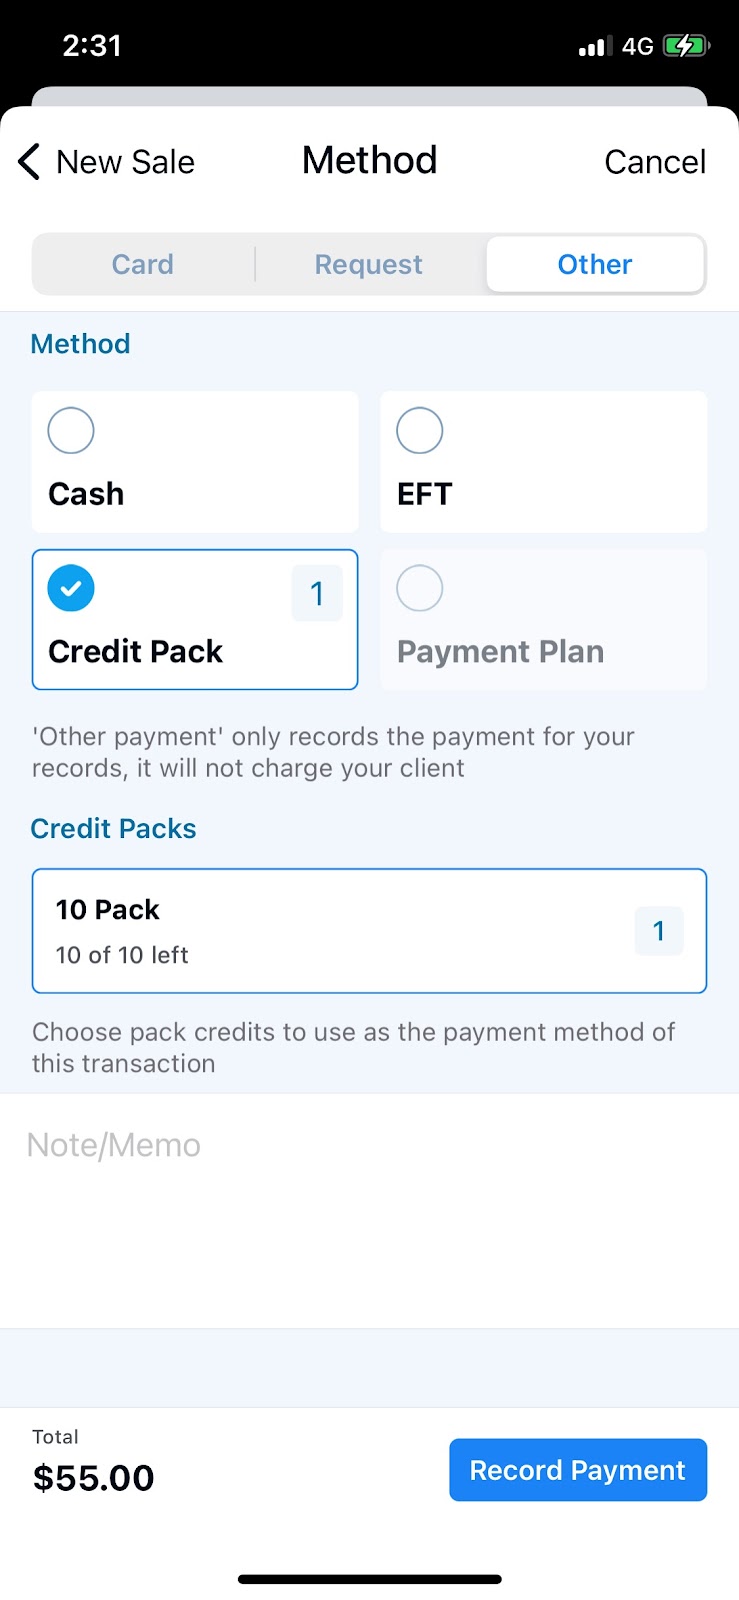
Credit Pack: This gives you the ability to use a pre-purchased credit pack for payment.
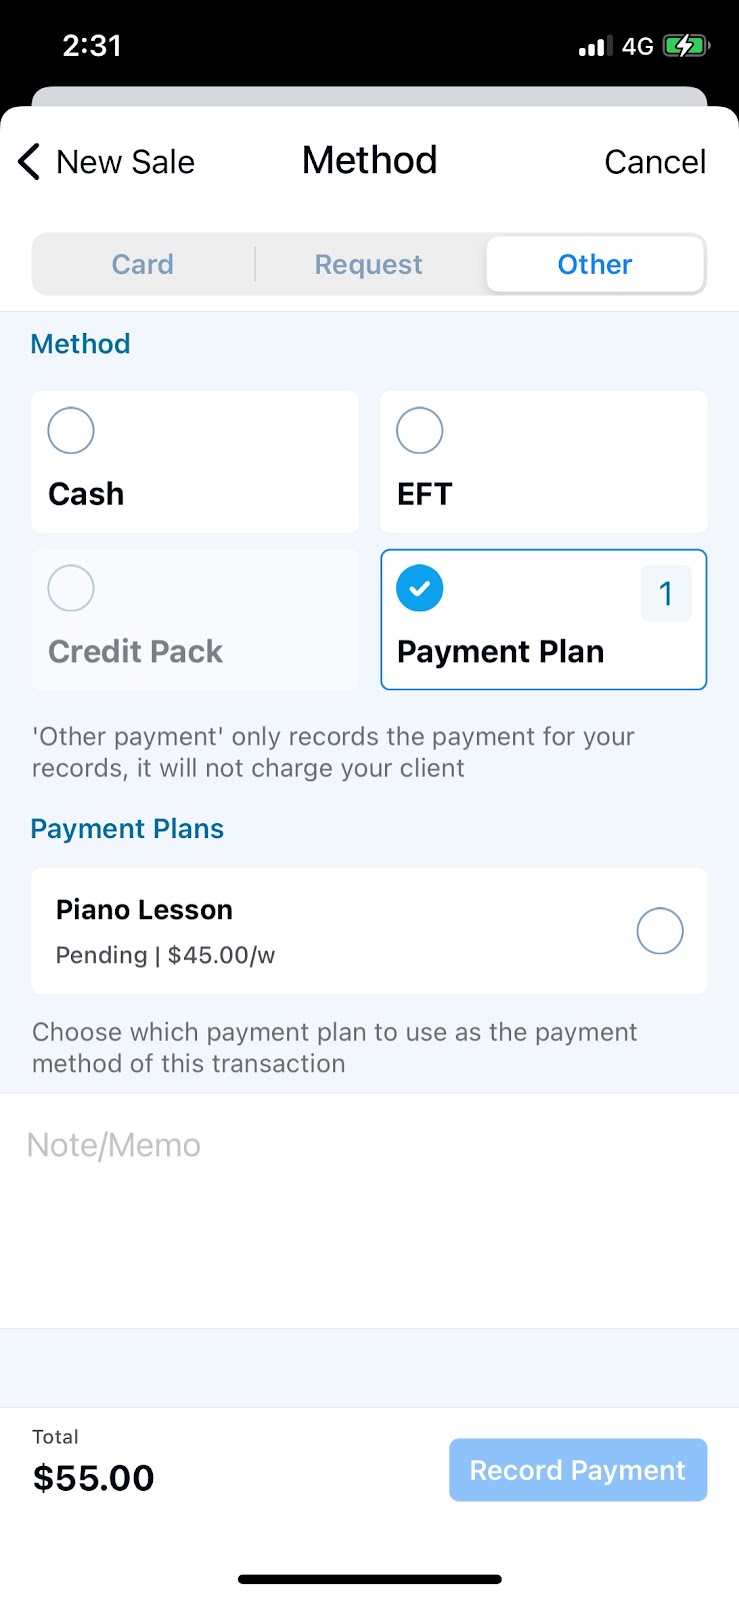
Payment Plan (now known as Subscriptions) - This gives you the ability to assign payment to a payment plan that is already set up
Step 9
Once you’ve selected the required payment type, tap “Record Payment” button.